
I’ve mentioned my super-easy DIY vitamin C serum a few times before on social media, and some of you have been asking me for the recipe… but I’ve been so distracted with other things I never got around to posting it until now.
I’m sorry! Please forgive me. I hope the results make up for my tardiness!
Ingredients and Materials
1. L-Ascorbic acid powder
As a dry solid, LAA is reasonably stable and cheap. You can find it at most supplement stores, or you can order it NutriBiotic off like I did (Amazon has this brand too).
Some powders apparently don’t dissolve very well, but I didn’t have any issues with NutriBiotic. NOW Foods is slightly cheaper, but I don’t know how easily it dissolves. I don’t recommend using crushed tablets because it ends up more expensive, plus you end up with random bits of fillers on your face.
2. Distilled water
Metal ions in your water can speed up the rate of LAA decomposition, especially since there’s nothing else in the formula stabilizing it. You can get distilled or deionized water at the supermarket for a few dollars.
You can also use water filtered through a very fine filter that can remove metal ions (a nanofiller). Alternatively, you can use tap water and just remake your serum more frequently.
3. Baking soda (sodium bicarbonate)
The pH of ascorbic acid alone in water is going to be too low (too acidic), which will cause unnecessary irritation. Baking soda is alkaline, so we can use it to adjust the pH back up, closer to skin pH.
Note: This is not the same as baking powder! Baking soda (sodium bicarbonate) is a single substance, which behaves much more predictably.
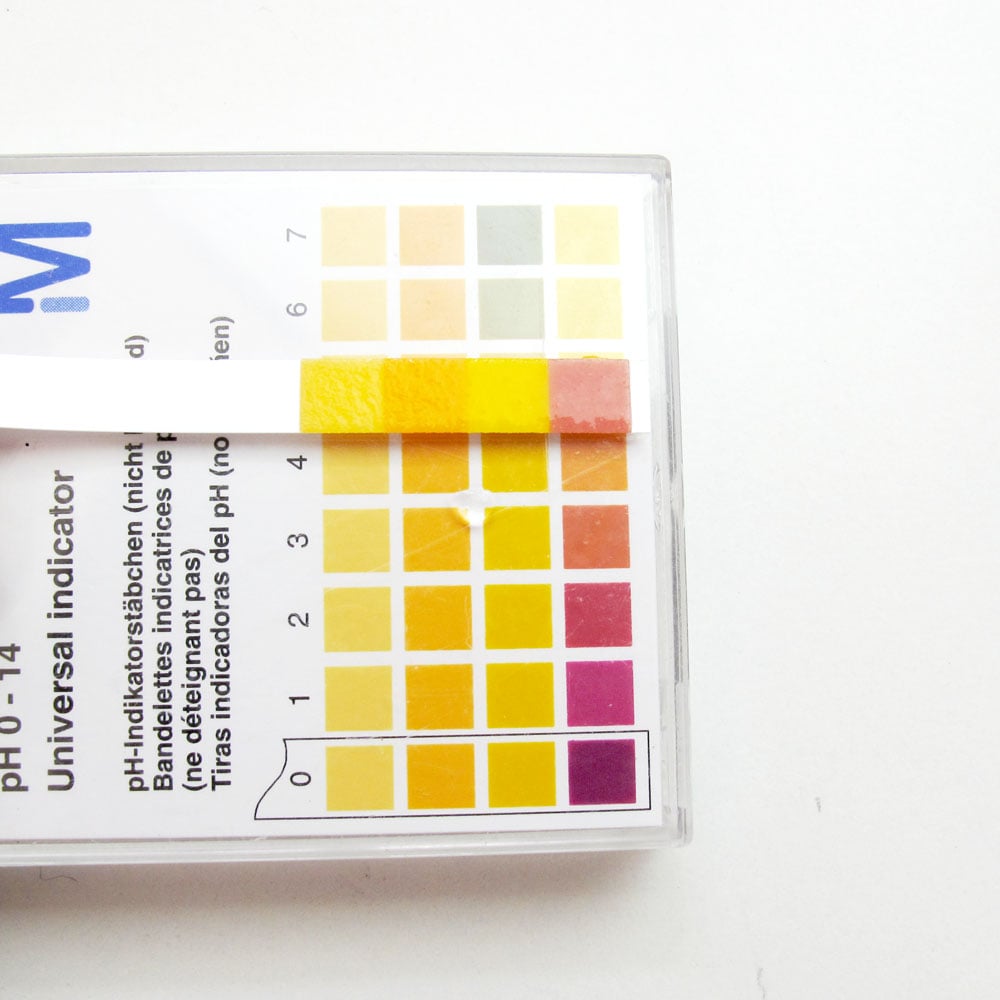
4. pH strips
To see what the pH is. It doesn’t have to be exact, so any indicator strips will do – I prefer the four-square indicator strips from Merck so I don’t second-guess my color matching abilities. You can get similar ones here.
5. 1/4 teaspoon measuring spoon
1/4 teaspoon is 1.23 or 1.48 mL (depending if it’s US or Imperial), which translates to ~1 g ascorbic acid. Ideally weighing it is much more accurate, but for this quick-and-dirty recipe volumetric measurement will do. I would recommend not aiming near the top of the % range, to give some leeway each way if the mass-to-volume conversion is off.
6. A suitable container
You want an airtight(-ish) clean container. It doesn’t have to be truly airtight since you’ll be remaking this often.
I originally made this serum with a spray bottle, but over time I found that the spring inside started to rust. I’d recommend a bottle with largely glass or rubber components such as a dropper bottle or an essential oil bottle.
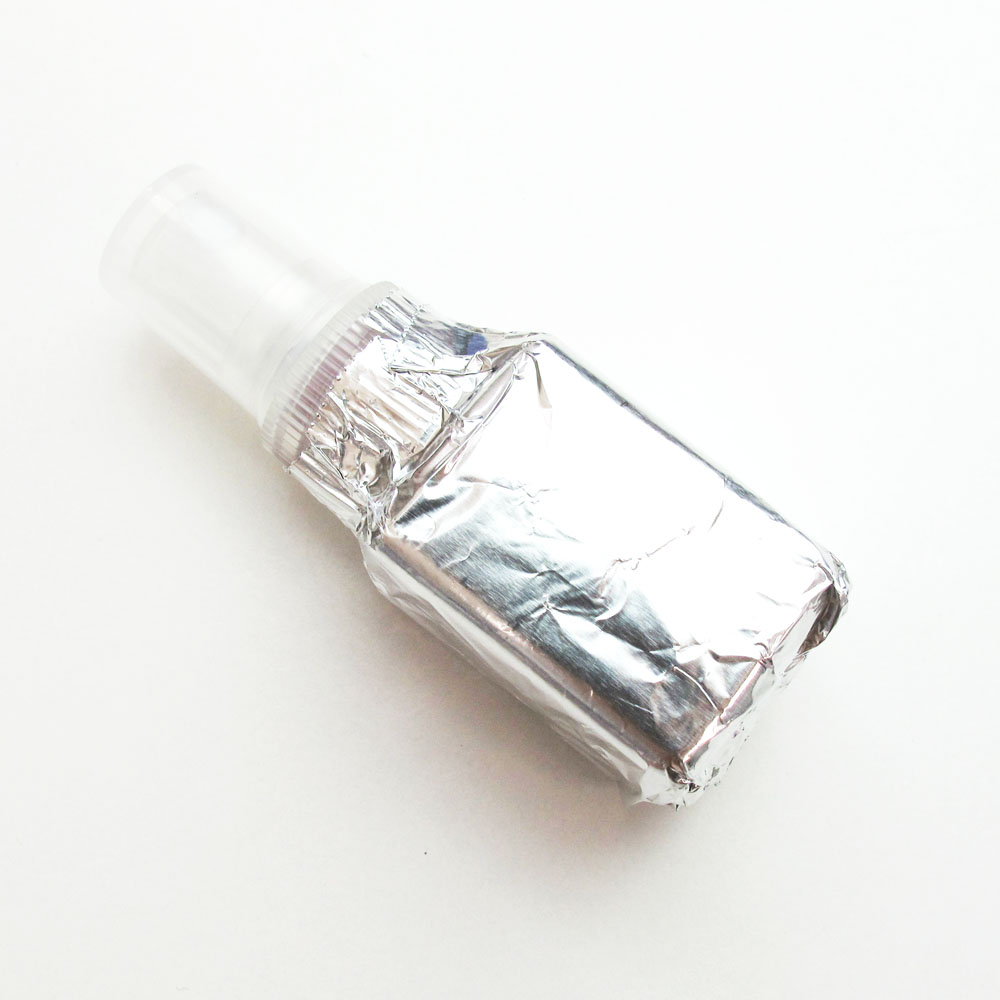
7. Aluminum foil
Enough to wrap around your container to lightproof it. Even if your container has coloured glass, this is a good idea!
Note: I’ve since run my own experiments and found that this doesn’t seem to make a huge difference.
Directions
Step 1
Work out how much serum you can fit into your container in milliliters.
If it’s new or a product container you’re reusing, it should say on the packaging. If you can’t work it out, you can either check how many teaspoons of water fit in it using a teaspoon measure, or eyeball it against similar containers you own.
Step 2
Calculate how many grams of LAA you need.
- For a 5% serum, multiply the volume of your container in mL by 0.05 to get the LAA required in grams. (grams = mL x 0.05)
- For a 10% serum, multiply the volume of your container by 0.1 to get the LAA required in grams. (grams = mL x 0.1)
- For a 20% serum, multiply the volume of your container by 0.2 to get the LAA required in grams. (grams = mL x 0.2)
For example, I’m making 20 mL of a 10% vitamin C serum: grams = 20 x 0.1 = 2 grams LAA.
Step 3
Clean your container.
Wash it out thoroughly then rinse with alcohol (methylated spirits) and let dry, then rinse it out a few times with your distilled water. If you don’t have time for this, you can skip the alcohol but it could lead to it going off faster (if you remake it weekly it shouldn’t be a problem).
Step 4
Put the appropriate amount of LAA into your container.
If you have scales capable of weighing to the nearest 0.1 g, you can use them (best approach).
A faster and reasonably accurate method is to use your 1/4 teaspoon measure and assume that a level teaspoon is approximately 1.5 g. It doesn’t have to be super exact – your skin isn’t going to respond significantly differently to 5% ascorbic acid vs 7% ascorbic acid. Again, it’s best not to go too high or low with the % so you have some leeway each way if the mass-to-volume conversion isn’t exactly that.
(If you’re super diligent and own scales, you can calibrate your teaspoon and your particular ascorbic acid powder by weighing out a flat teaspoon yourself, then using the faster teaspoon measure for future batches.)
Step 5
Dissolve the LAA powder.
Add about half the distilled water, put the lid on and give it a healthy shake until all the LAA powder has dissolved. If you fill the bottle all the way to the top, it’s harder to shake.

Step 6
Add the rest of the water. Shake a few times until it’s mixed.
Step 7
Adjust the pH.
Put a drop of serum on your pH strip to check the pH (you can dip the strip in if you want, but you might end up with ugly floaty bits in your serum). It’s probably going to be too low. Add baking soda a tiny bit at a time, testing the pH as you go, until the pH is between 3 and 4.
As an indication, for 20 mL of my 10% serum, I found that I needed about 3 rice grains’ worth of baking soda to get to pH ~3.5. Your amount will likely be different, since baking soda gets weaker with exposure to carbon dioxide in the air.
Step 8
Wrap the bottle in foil. This is a little trick I picked up in the lab during my PhD. It’s the easiest and cheapest way to protect a light-sensitive substance.
Note: Since I first wrote this post, I’ve done some experiments and it seems like foil doesn’t make a big difference.
How long does this DIY vitamin C serum last?
With light protection, I’ve found that it gets slightly yellow after a week, and noticeably yellow after 2 weeks, so I think 2 weeks is the upper limit here. The pH is low enough that most microbes won’t be able to thrive so microbial growth isn’t a big worry, especially when you won’t be keeping the serum for very long.
Once you’re used to the process, I reckon you’ll be able to make it in under 5 minutes! (I’m curious about how quickly this can be done, so if you decide to time yourself please let me know! I’ll update with the time I take for my next batch.)